

A strong before-and-after set is one of the most useful records a construction project can produce. It settles disputes about pre-existing conditions, anchors a marketing portfolio, supports a closeout package, and gives an owner a clear story of what changed. Getting a set that actually holds up, though, takes more than flying a drone twice. The difference between a pair of nice pictures and a defensible before-and-after record is repeatability. This guide walks through how to capture before-and-after construction photos with a drone in a way that produces a genuine comparison.
Step 1: Shoot the “before” before anything moves
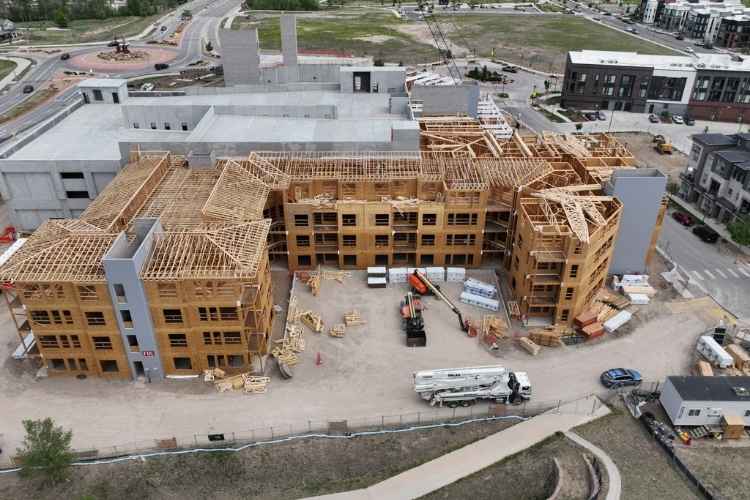
The most common mistake is starting too late. The “before” flight should happen before mobilization, ideally before any grading, staging, or demolition. This is the only chance to document true existing conditions: the natural grade, neighboring structures, drainage, and any prior damage. On the Front Range, where sloping lots and tight urban infill are common, that baseline also protects against later disputes over what a site looked like at handover. If demolition is part of the job, treat the standing structure as its own “before” and fly it before the equipment arrives.
Step 2: Record your capture positions so you can return to them
A before-and-after pair only works if the two images line up. That means recording exactly where and how the “before” was captured: the drone’s position, altitude, camera angle, and framing. A photo taken from the northeast corner at 200 feet looking southwest is only comparable to a later photo taken from the same spot, at the same height, at the same angle. Professional operators log these positions so every follow-up flight repeats them rather than approximating them. This is where a documented, standardized workflow earns its keep, and it is the backbone of our Construction Progress Documentation service.
Step 3: Fly legally, which on a job site means Part 107
Any drone flight for a business purpose in the United States requires an FAA Part 107 remote pilot certificate. The FAA sets the rules that govern these flights, including a general 400-foot altitude ceiling above the ground, with an allowance to fly higher when staying within 400 feet of a structure. Commercial job sites also frequently sit near controlled airspace, which can require authorization before a flight. Hiring an FAA Part 107 certified operator is not a formality; it is what keeps the imagery admissible and the project clear of enforcement risk. Dragonfly flies every job under Part 107 from our base in Arvada.
Step 4: Keep conditions and settings consistent
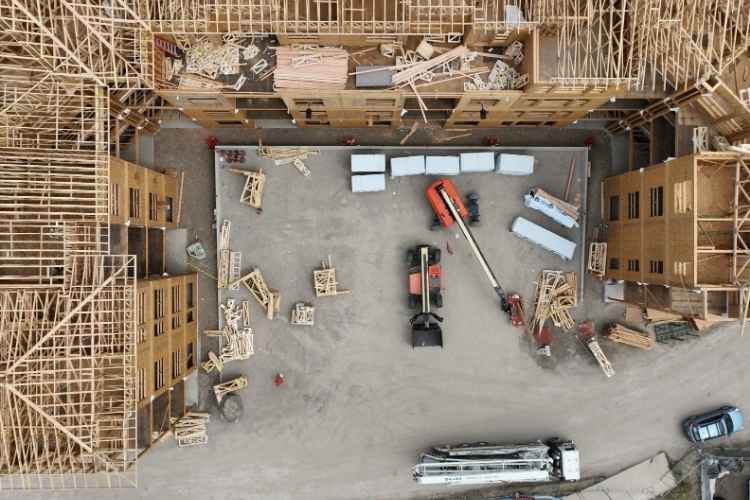
Beyond position, the quality of a comparison depends on consistency. Similar time of day keeps shadows from telling two different stories. Similar weather avoids a bright “before” against a flat, overcast “after.” Consistent camera settings and resolution keep the pair looking like one dataset rather than two unrelated shoots. None of this requires perfect matching, but the closer the conditions, the more the viewer’s eye reads real change rather than a change in the photography.
Step 5: Capture progress in between, not just the endpoints
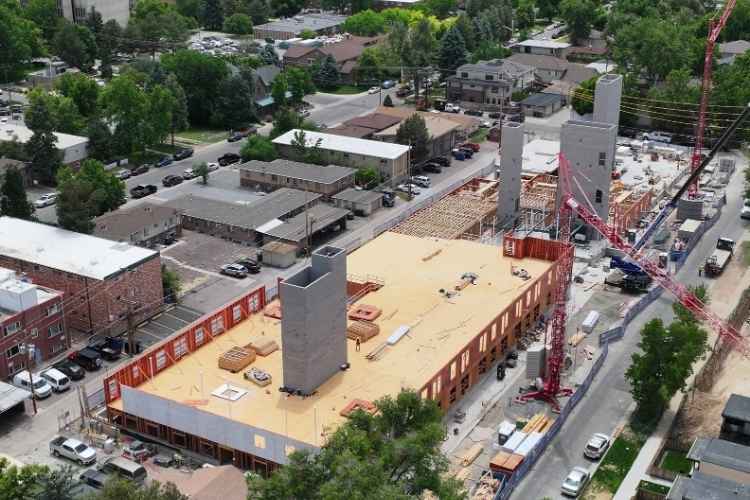
A true before-and-after is stronger when it is not only two frames. Regular flights through the middle of the project produce a continuous record, so the “after” is the end of a documented sequence rather than an isolated claim. That in-between coverage is also what makes the imagery useful for draw documentation and coordination while the job is still live. Rework research from the American Society of Civil Engineers underlines the point: field rework averages roughly 5 percent of total project cost, and a dated visual record of how conditions evolved helps teams catch and settle issues before they compound. You can see how we structure a recurring capture schedule on our How It Works page.
Step 6: Deliver in a format people can actually use
The final step is delivery. A before-and-after set should arrive as organized, dated, high-resolution files, matched into clear pairs, with a predictable turnaround. Dragonfly delivers finished documentation within 5 to 7 business days, matched and labeled so the comparison is obvious to an owner, lender, or crew without extra explanation. With multi-family and residential starts continuing across the region per U.S. Census new residential construction data, having a clean, ready-to-share record is increasingly part of how projects close out and get marketed.
Doing it yourself versus hiring an operator
If you already hold a Part 107 certificate and have time to log capture positions, match conditions, and process files, a do-it-yourself before-and-after is achievable. For most builders, the value of hiring an operator is not the flying; it is the discipline of repeatable positions, consistent delivery, and a record that holds up when it matters. That reliability is the whole point of a before-and-after in the first place.
If you want a professionally captured before-and-after record for a project on the Colorado Front Range, request a quote or browse our full services.
Sources:
https://www.faa.gov/uas/commercial_operators/become_a_drone_pilot